Installations

My grandfather loved creating things in wood, and some of that gene must have rubbed off because I seem to keep getting inspired to do creative installations and furniture.

  • I hid my tech clutter behind the TV

    I hid my tech clutter behind the TV

    Although we have plenty of room below the TV, digging around in there was really annoying, so for the last few week, I’ve been working on a project to put everything on the wall behind it instead.

    The beauty of this setup is that with no wires to the bench below, I can remove it completely, pull the TV all the way out and stand comfortably while reorganizing stuff.

    So far I’ve set up my PS5, the Apple TV, and a ISB-C dock with 65W power so I can plug in my laptop, Steam Deck or whatever else I might need to use with the TV, and where latency is an issue.

  • I Built an Electric Skateboard Rack

    I Built an Electric Skateboard Rack

    IMG_9011

    My newfound passion for electric skateboards, caused a bit of a pile-up in the living room, so I decided to create a rack. My main objective was to get them out of the way and charging with as little fuss as possible, so here is what I came up with.

    1 – Board with risers

    The problem with hanging boards on a rack, is that the wheel sizes vary. The old boards I have go down to around 50mm, but the new electric-boards easily go up to 80-90 mm, so I have to lift the hangers off the board a bit.

    I cut out a 100×100 mm block, with around 25mm thickness, and glued it onto the back board. The screws I’ll use for the hanger will go through it, and into the back board, so it should hold fine once mounted.

    IMG_8989

    2 – Hangers

    I got these cheap at Bauhaus, but any hanger with two pins will do, so if you have any lying around, use those. The main criteria is that you’ll need to get some fairly robust screws through there to hold the weight of an eboard – the screws that come with the hanger are crap – so make sure the holes are of decent size.

    IMG_8992

    3 – Mounting

    Make sure you use the longest screws the wall will allow, because there is going to be some weight on this. I was unlucky to hit a line of loose mortar between bricks, so I ended up using expanding bolts to make sure it would hold.

    Mounting

    4 – Power supply

    To get the chargers up there, I mounted a 60x110mm cable tray above the rack, which should be sufficient for most chargers. I then cut the front of the cable tray over each hanger, and removed one corner to get the cables through.

    This has the added benefit of making it easier to pull the front off, and get the charger down if I need to go anywhere.

    IMG_9007

    I did a small loop with the cable across the hanger, to avoid pulling on the charger, if I should forget to unplug, when I take the board down.

    IMG_9009.jpg

    Finished rack

    The results works perfectly for what I needed. There is not a lot of room in the hallway where I did this, but the ceilings are high, so even longboards get enough out of the way to not be annoying. Also, the Spectra, which is the shortest board I have, is still long enough that I can reach it.

    IMG_9011-1.jpg
  • I made two wall-mounted bedside tables with charging and light

    I made two wall-mounted bedside tables with charging and light

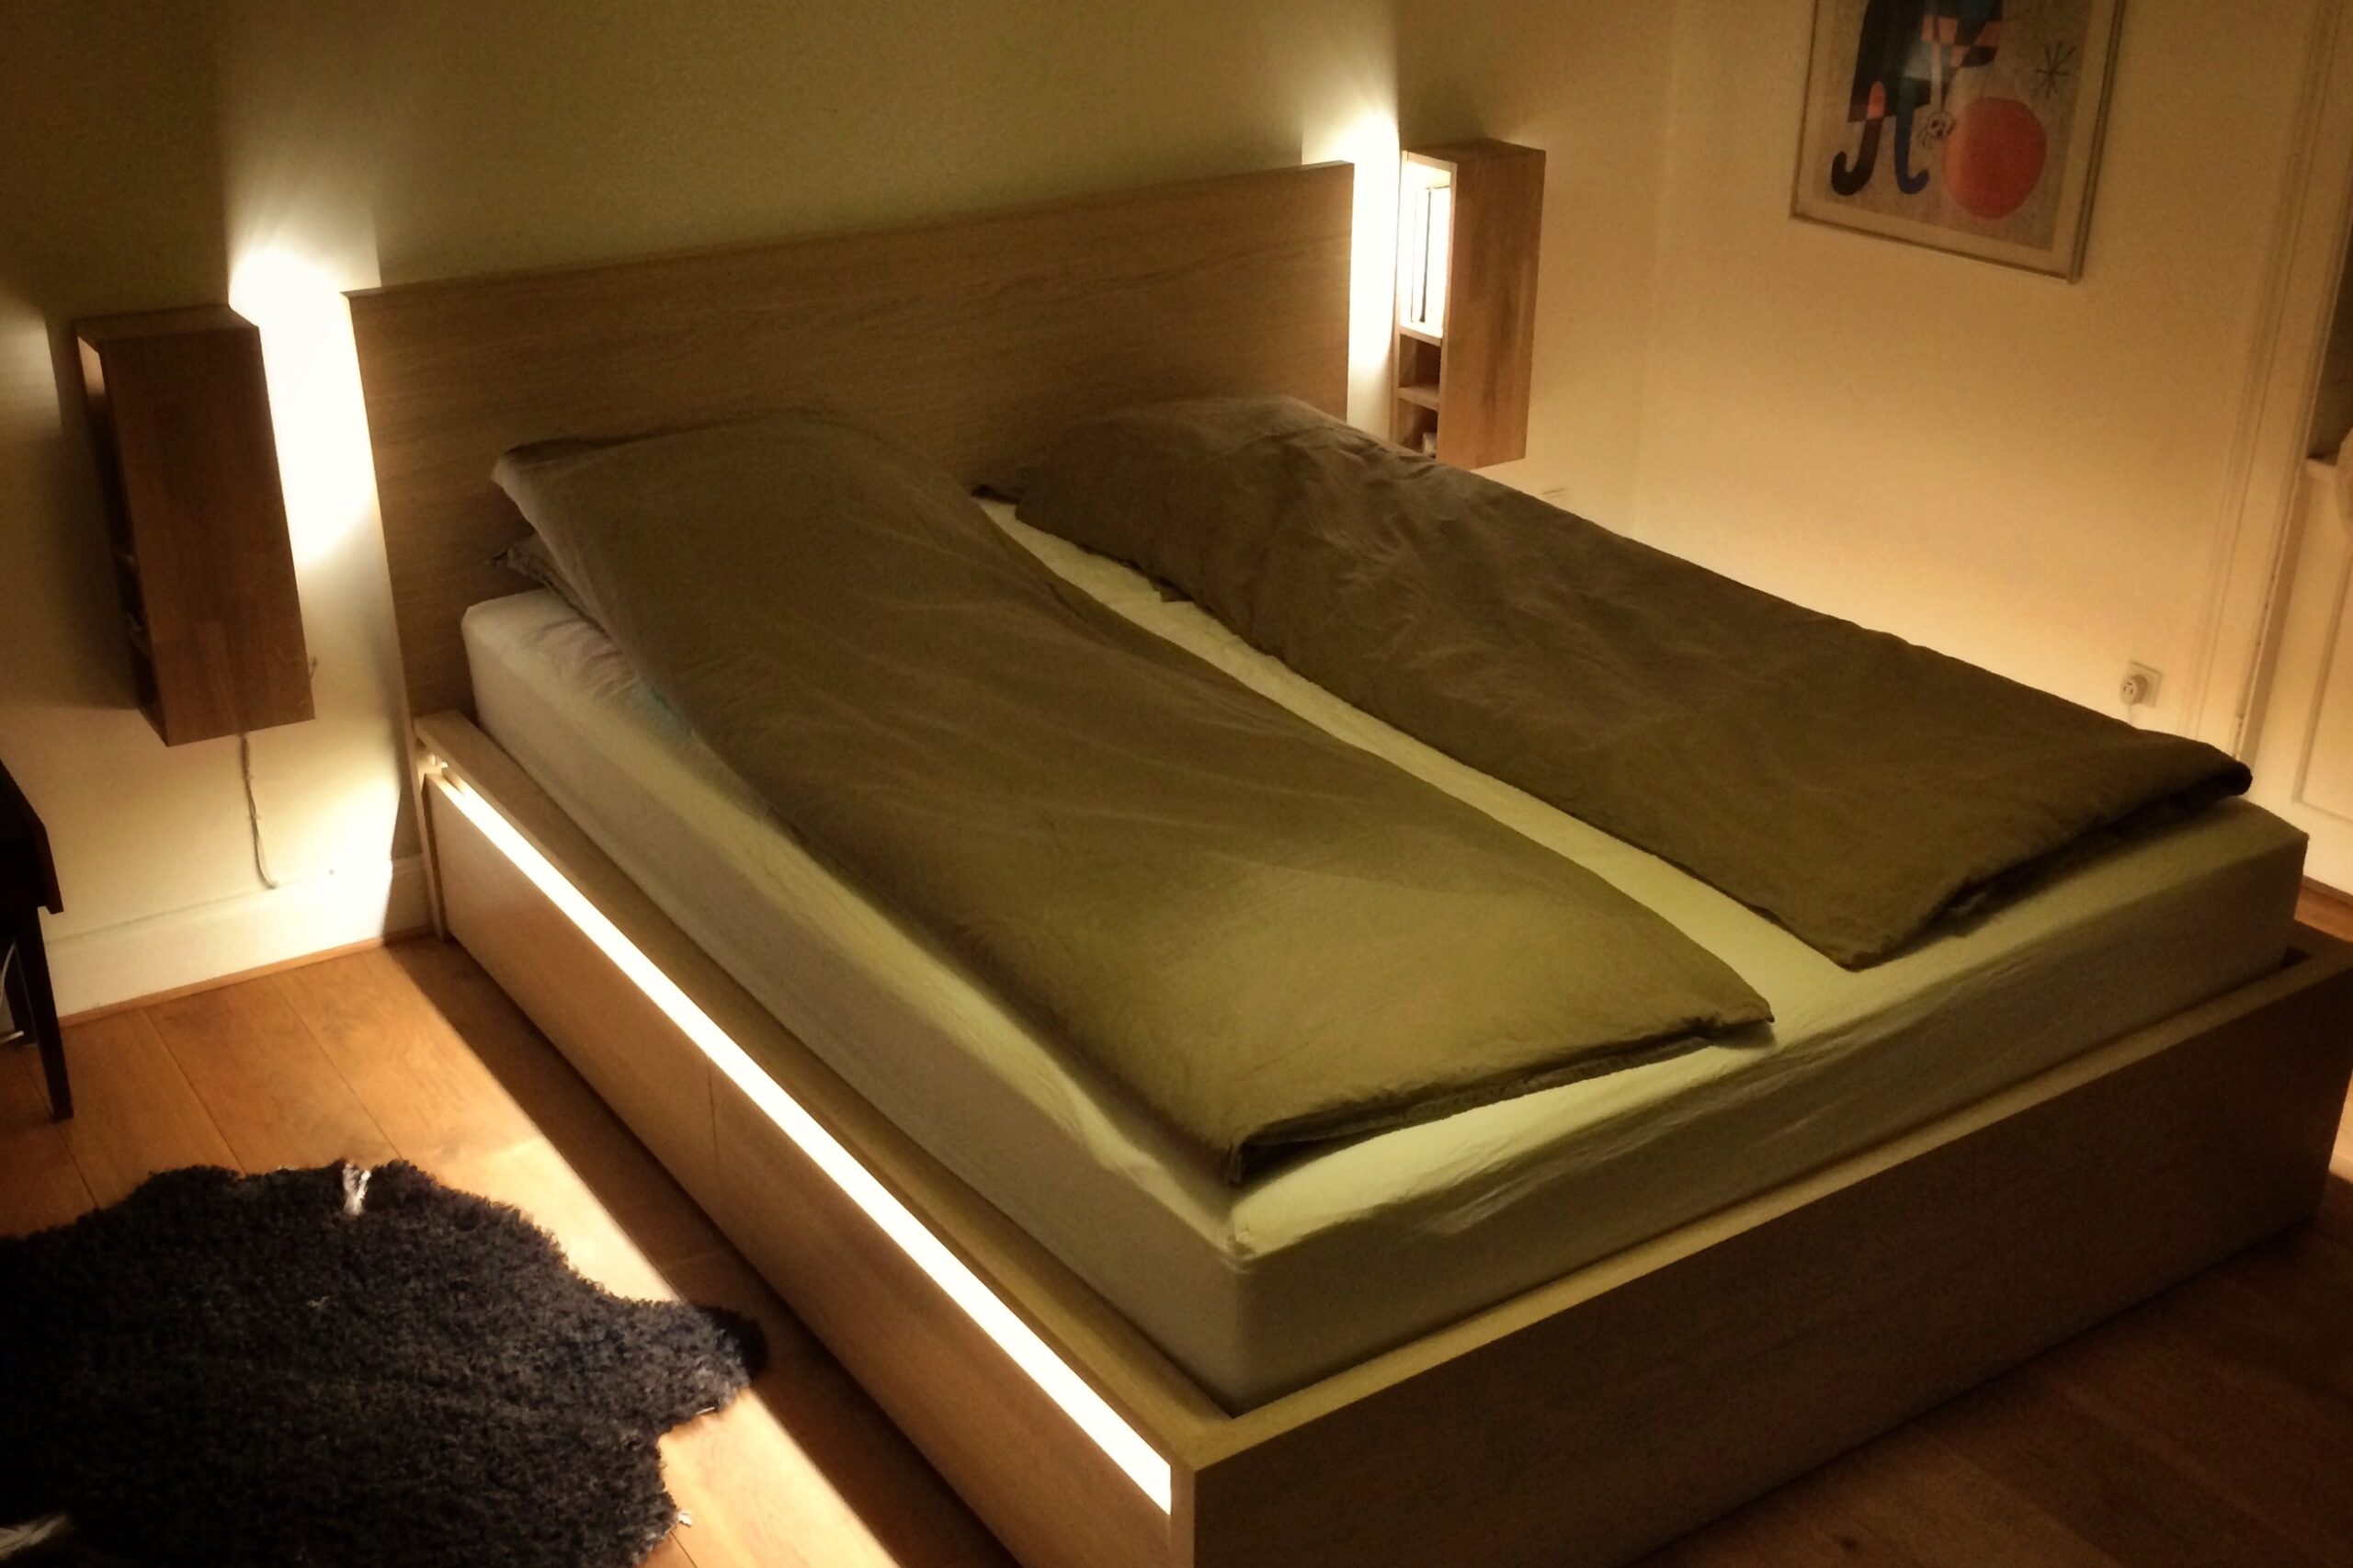
    As we’re moving into our new apartment, we needed someplace to put our books, charge our phones and keep the clutter. We couldn’t find any options that didn’t involve too much floor real-estate, and I wanted something a bit more elegant.

    I therefore put together these two wall-mounted bedside tables, and added light and charging station inside them, so we could organise everything.

    EDIT: These are the same bedside tables after almost 10 years of use. We rarely use the lights anymore, but the charging station inside is in constant use, and I’m quite happy with how they have turned out.

  • I made a flowerbox for hiding cables and charging gadgets

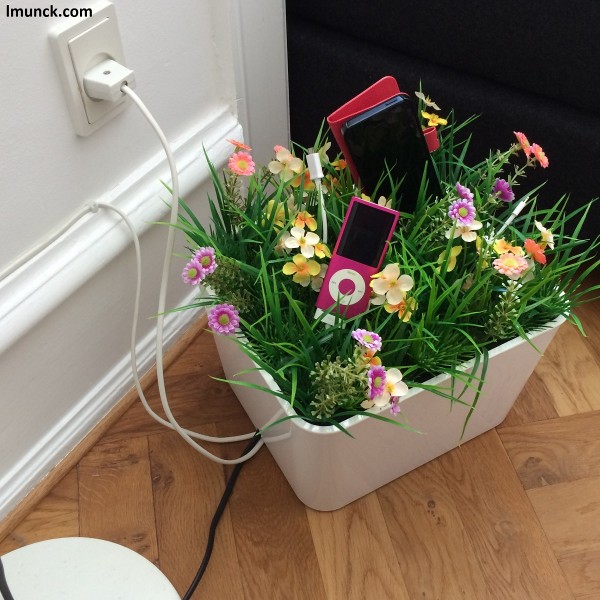
    I made a flowerbox for hiding cables and charging gadgets

    A while ago, I came across this great little grass covered box for hiding chargers for your gadgets, but when I tried to buy one, they were not on sale anymore.

    I’m unsure why. Maybe this is a really bad idea that will melt the box as soon as too many gadgets are put in there, or maybe they just went bankrupt.

    Whatever the cause, I decided I wanted one for myself, so instead of buying it, I built one.

    DISCLAIMER: If you build this box yourself, and something happens, I’m not accountable. Mine has worked fine so far, but you never know.

    What you need:

    1. IKEA Pluggis box with lid
    2. Plastic flower patches – I found mine in Tiger.dk (Google search for similar product).
    3. EVA Foam 2mm sheet (in Danish “mosgummi”) – I found mine in Panduro Hobby (Google search for similar product)
    4. USB multi charger – I found mine on Amazon.co.uk (Google search for similar product)
    5. Powerstrip – I had one lying around (Google search for similar product)
    6. Tools to drill out holes in box

    How you do it:

    1) Drill out the holes in the Pluggis box

    The holes in the lid need to be big enough for a USB plug, and the holes in the bottom need to be big enough for a power plug:

    IkeaHack01

    I put the big holes on the bottom, so I can get the power-plug through and still have a small nice looking hole on the side:

    IkeaHack02

    2) Cut out the EVA foam, cut holes for USB cables, and then staple on the flower patches

    Ok, I admit I did this without taking too many pictures of the process, but it is fairly simple. Cut out the EVA foam to fit into the depression in the Pluggis box lid, cut the holes for the USB cables and then staple on the flower patches.

    I had to detach the flowers and cut the grid under the flowers a bit to make it fit.

    IkeaHack05

    IkeaHack06

    3) Pull the USB cables through the holes in the foam and lid

    This is the step where it makes sense to have cut the holes to USB plug size.

    Most plugs are smaller than USB, but a few, like the old iPad/iPhone plugs are larger, so if you’ve cut them all to USB size, you’ll be fine no matter what.

    IkeaHack07

    IkeaHack08

    IkeaHack09

    4) Put the USB multi-charger inside the Pluggis box and attach the cables

    This is the simplest part, just plug everything in.

    In my charger there was USB plugs for iPad, iPhone, Android, etc.,  The difference in those are the Wattage you get, so it shouldn’t destroy your gadgets if you mix them up. Your iPad will just charge really slow, or not at all, if it’s in a USB plug with too little charge.

    IkeaHack03

    IkeaHack04

    IkeaHack10

    IkeaHack11

     5) Setting up your new box

    Once the box is done, find a good spot for it. I put mine by a lamp next to our couch and easy-chair, so I could hide the power chords I had on the floor before, and have charging conveniently handy for when I’m reading.

    IkeaHack12


  • I made floating shelves for the living room that can carry a ton

    I made floating shelves for the living room that can carry a ton

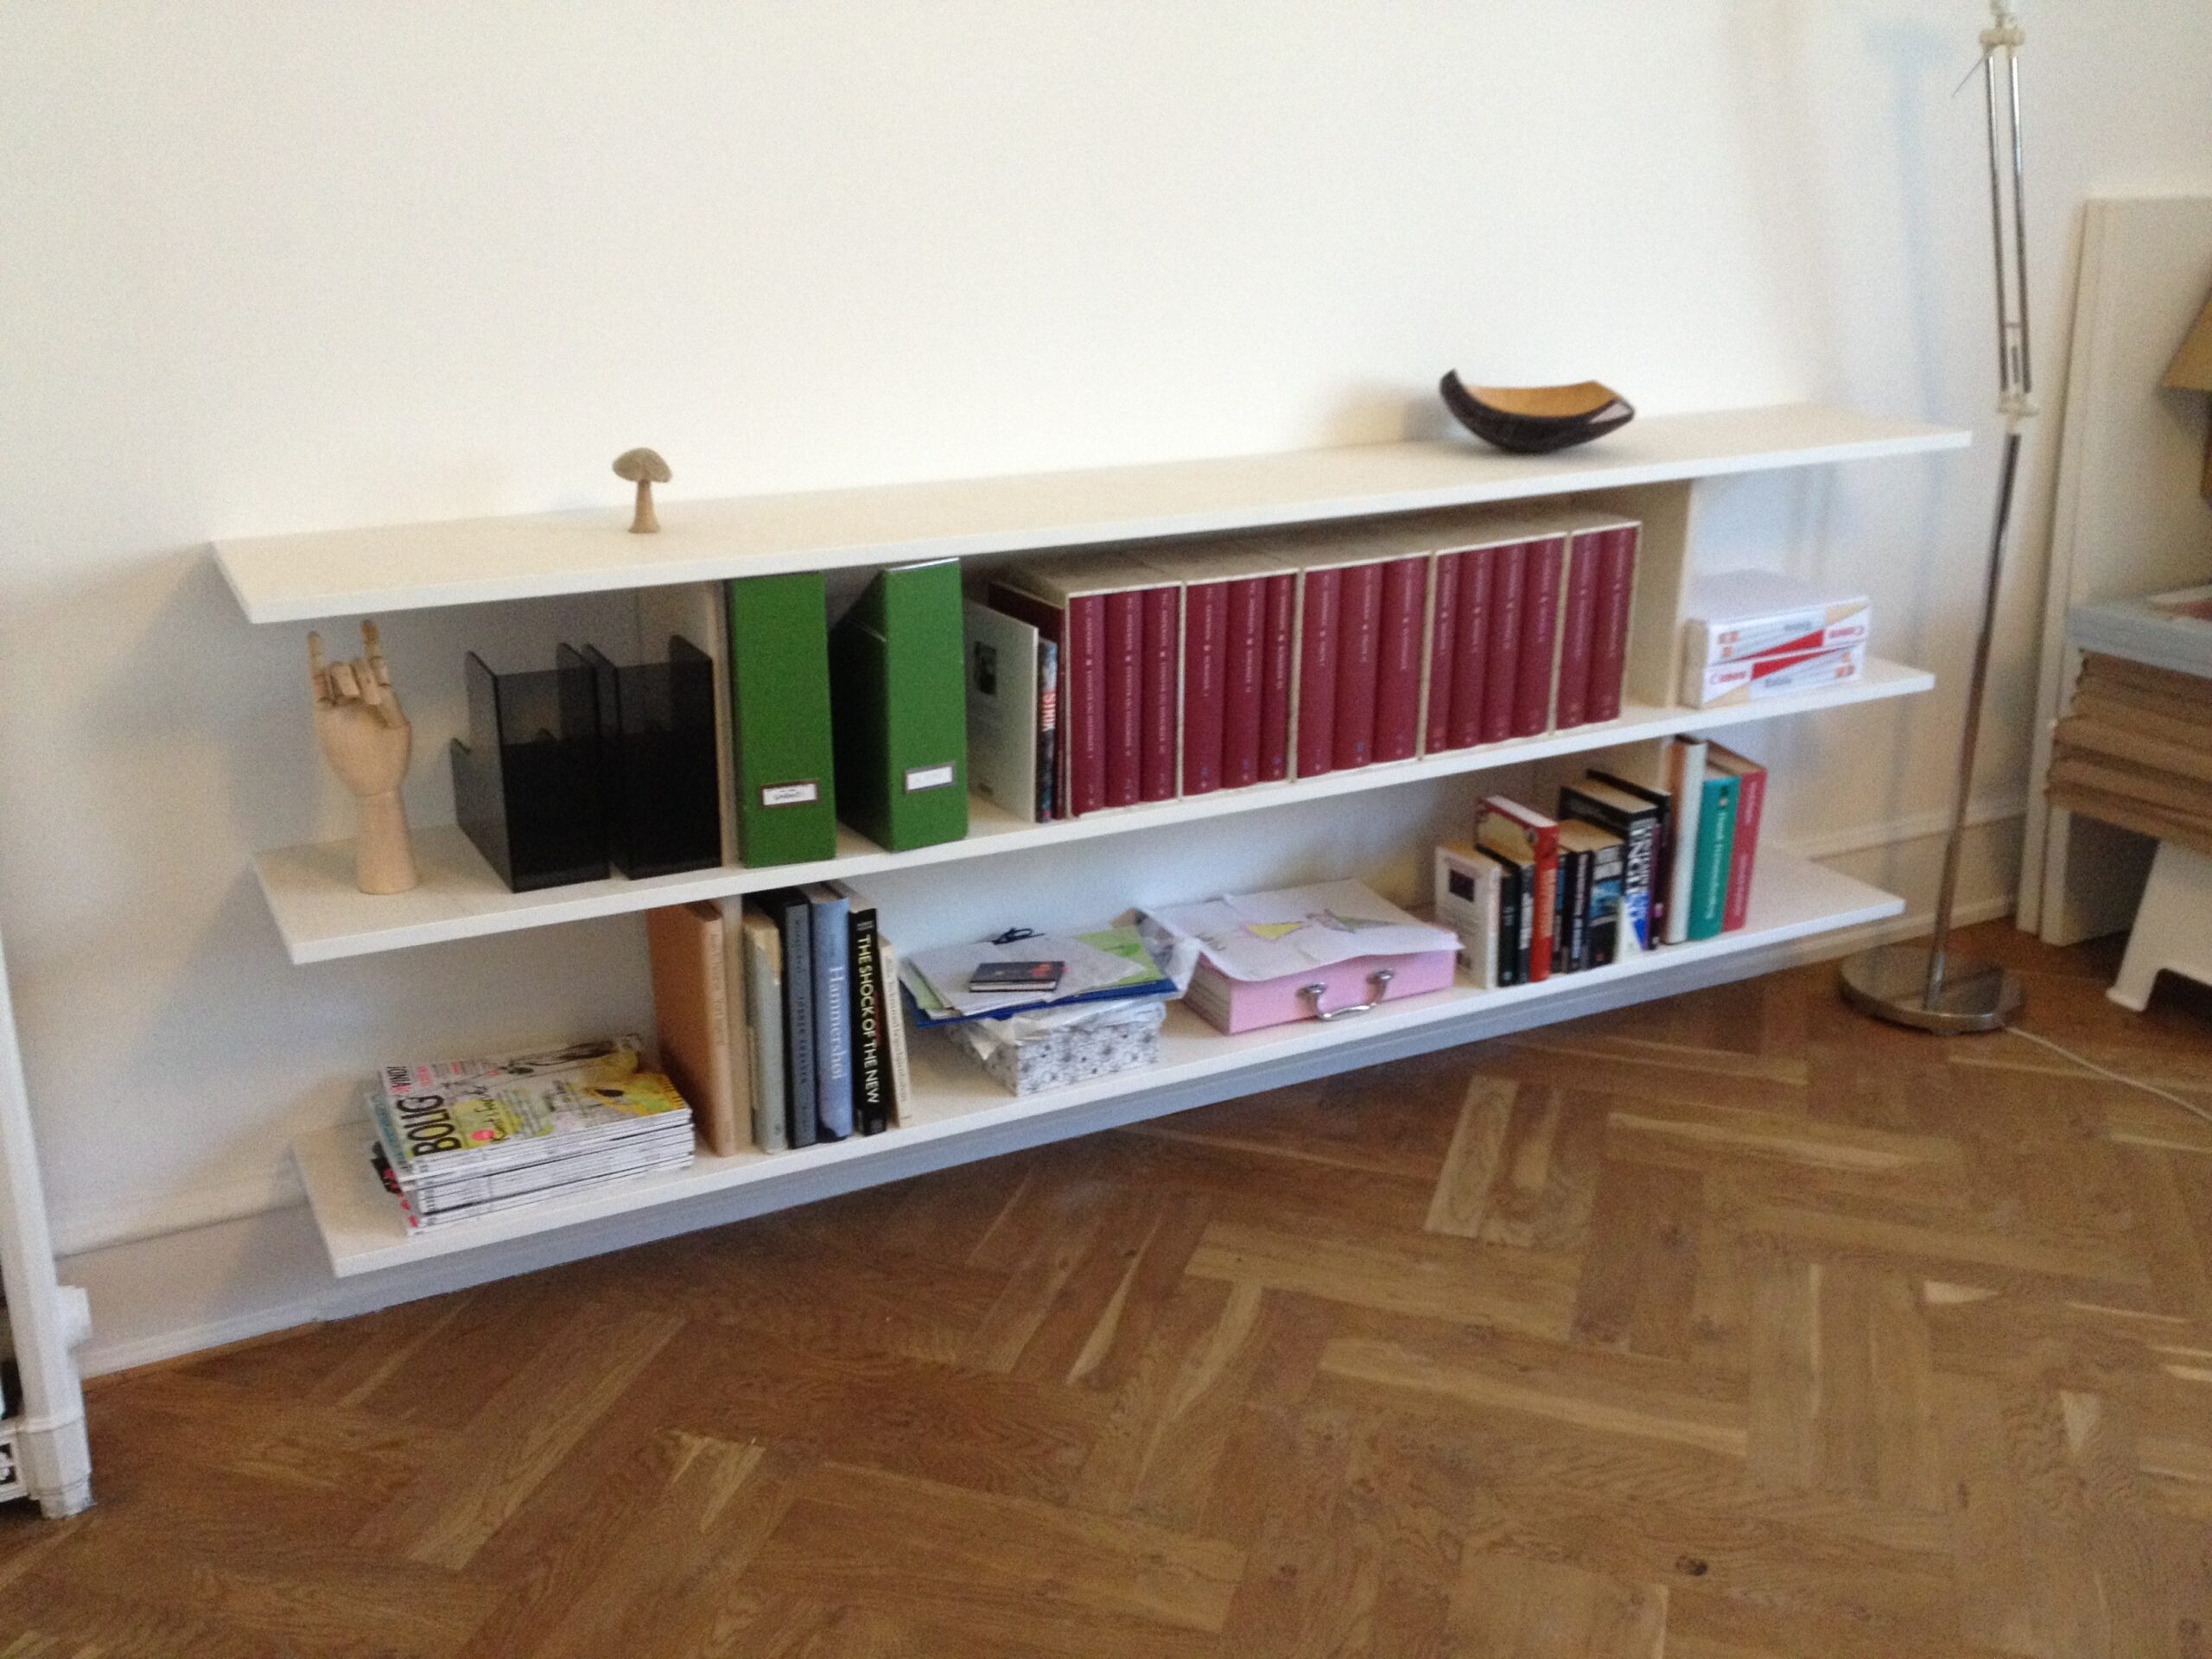
    My architect friend Mikkel came up with the concept for these shelves, and I thought it was such a cool way of making something, that looks like floating shelves, but can carry a ton of books and other things.

    The shelves are not attached directly to the wall, but resting on vertical boards that are again attached to a back-plate, which is the one that is mounted on the wall. This makes the construction sturdy, and capable of carrying a lot of weight.

    By pulling the vertical boards back from the front, they disappear among the books, making it look like the shelves are floating, but at the same time they can handle a grown man standing on them. The wall will give out before the shelves will

  • I made a bench for our hallway to hide clutter

    I made a bench for our hallway to hide clutter

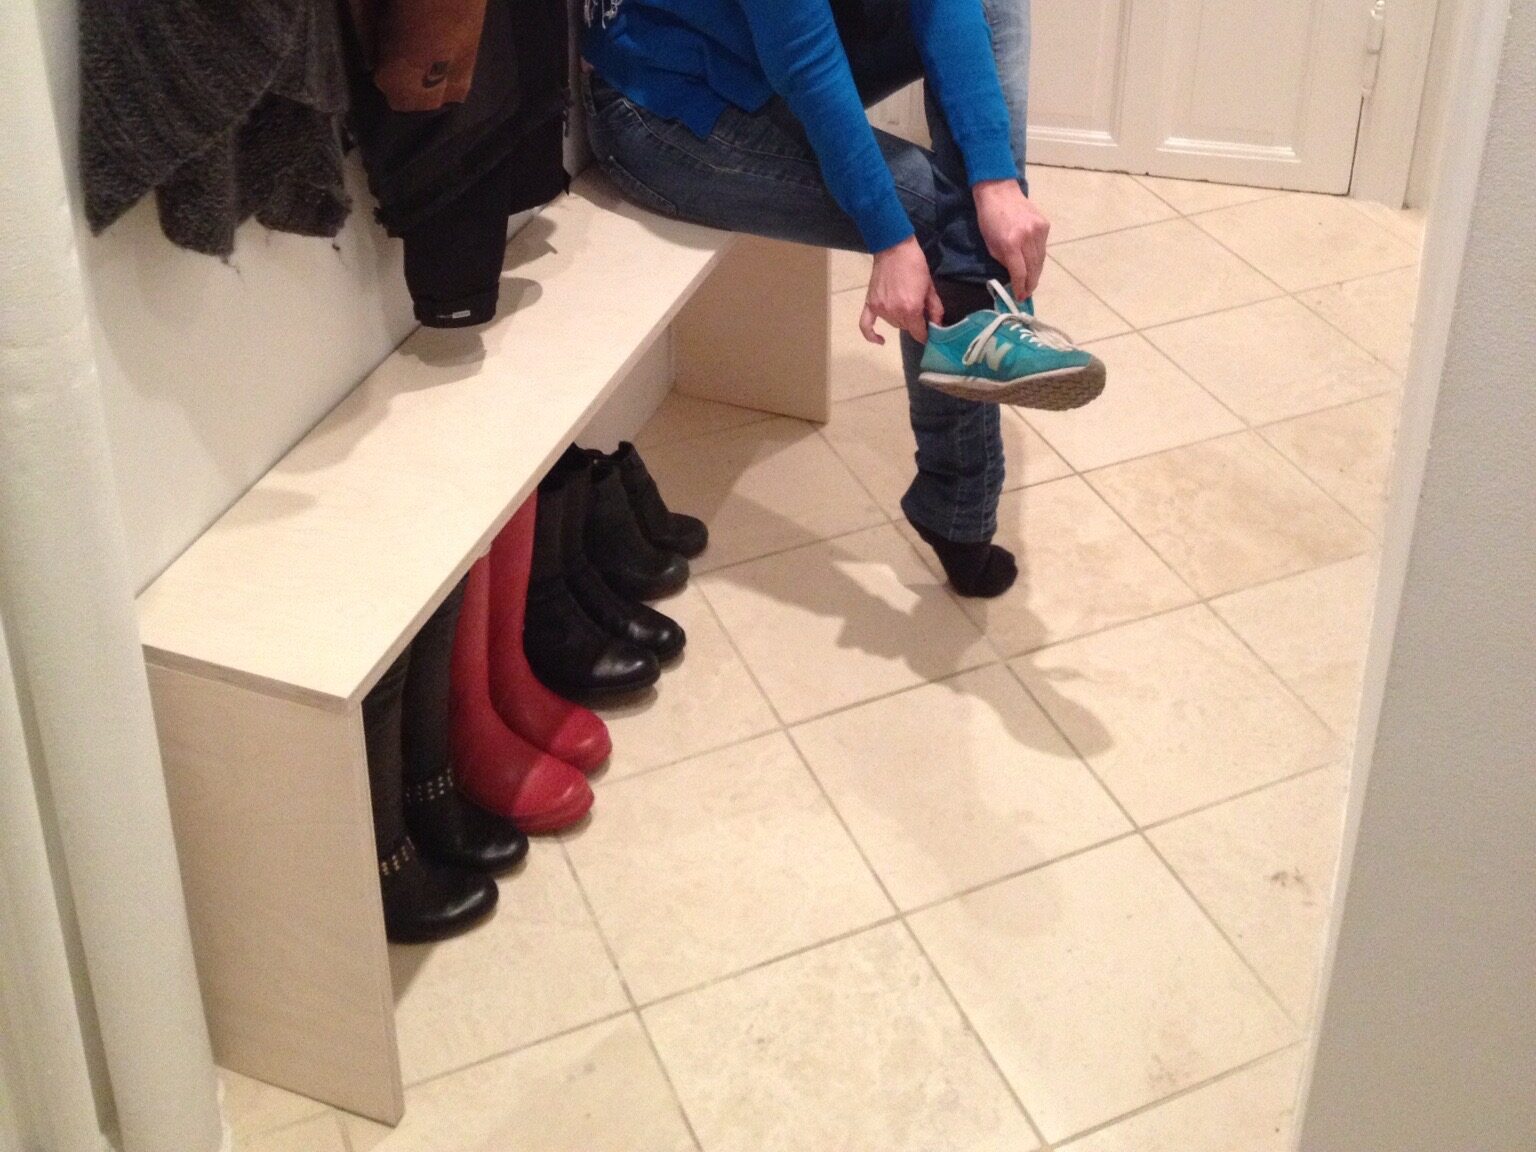
    We had a narrow hall and needed some storage for shoes, mittens, caps and other crapola, and I therefore built this bench. It serves a dual purpose of framing the noisy areas, and sitting on when tying shoes etc.

    EDIT: After almost ten years, two more kids, and a LOT more mess, this bench is still in use, and if I must say myself, it is keeping up very well.